11 Remote desktop manual
The following sections describe how to log in to the remote desktop, navigate the screen, log out or disconnect access, and change the password.
11.1 Login remote desktop access
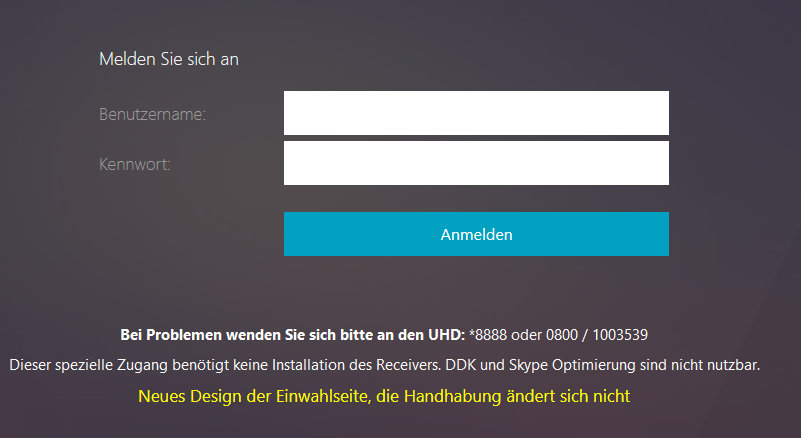
Open the website https://vdi.arbeitsagentur.de/ with a current browser.
In the login window (see Figure 10), please enter your remote desktop user name with the suffix @dst.baintern.de in the field ‘Benutzername’ (e.g. for the project fdz9999 and the user John Doe this is likely: fdz9999dj001@dst.baintern.de).
Please enter your project-related password for on-site use in the field ‘Kennwort’ (password).
If you have not yet received your access data or have forgotten it, please contact the FDZ (iab.fdz@iab.de).
Passing on the password to third parties is not permitted, not even within a project.
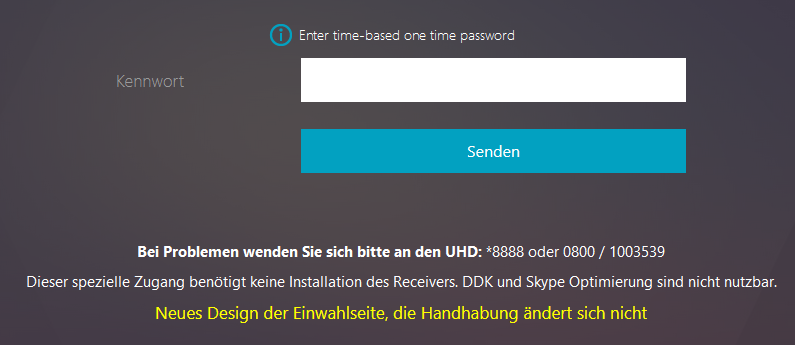
- A new page will open (see Figure 11). Enter the six-digit security number currently generated by your smartphone's TOTP generator in the input field under 'Enter time-based one-time password'.
- A new page will open (see Figure 12). Please click on the blue monitor symbol on the left side. Depending on your browser and its settings, you may have to double-click on an automatically downloaded file.
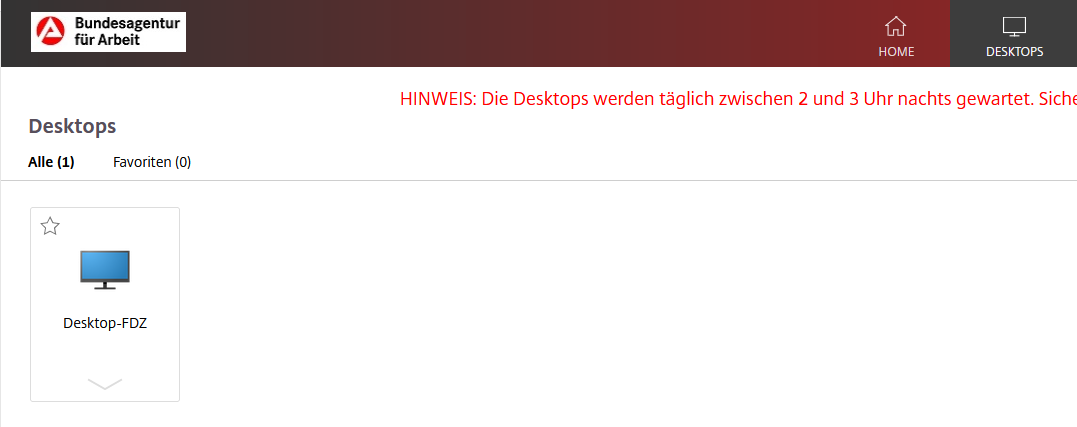
- Please be patient while the connection to the server is being established.
11.2 Additional navigation elements
Once the connection has been established, the following navigation elements are available to you:
- Behind the semicircle in the middle at the top there is a multifunction button (see Figure 13).

- This can be expanded and minimised again by clicking on it (see Figure 14).
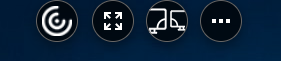
- The full screen function is located behind the second button from the left (see Figure 15).
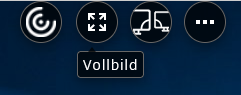
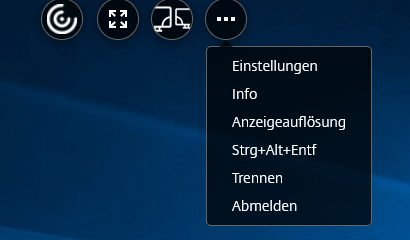
- Further functions can be found behind the button with the three dots (see Figure 16).
If you click Ctrl+Alt+Del on the keyboard, this will only affect your computer.
If you wish to execute the key combination Ctrl+Alt+Del here on the server, please use the corresponding button (Strg+Alt+Entf).
-
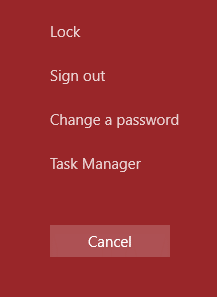
If you press the Ctrl+Alt+Del button, a menu opens (see Figure 17) in which you can:
change your password,
log out (Sign out) and
lock the session.
11.3 Disconnect or log off?
You can use the three dots on the multifunction button to disconnect from the server and log out (see Figure 16).
When you "Disconnect (Trennen)", the connection to the server is terminated, but all processes running on the server (e.g. Stata analyses) are continued. Please use this option if your analysis programmes are still running.
When you "log out (Abmelden)", your session is shut down. All running processes are stopped. Please log out when your Stata analysis programmes have finished so as not to consume resources unnecessarily. Other researchers will thank you for the performance gain!
11.4 Change password
In the following we show you how to change your password. However, this only changes the password of the remote desktop account and not the password of your JoSuA account or on-site account!
Please log in to your project first (see Figure 10 to Figure 12).
Open the multifunction button (top centre) by clicking on the ‘semi-circle symbol’ (see Figure 13).
It is important that you activate the full-screen view! (see Figure 15).
Click on the ‘three dots symbol’ in the open multifunction button (see Figure 16) and click on the ‘Ctrl+Alt+Del’ (Strg+Alt+Entf) button.
A menu will open, please click on ‘Change a password’ (see Figure 17).
This will take you to a page where you can change your password (see Figure 18). Enter your user name in the first field (fdz number number number number number letter surname letter first name further numbers, e.g. fdz9999dj001).
Please enter your old password in the second field and your new password in the third field, which you then confirm again in the fourth field.
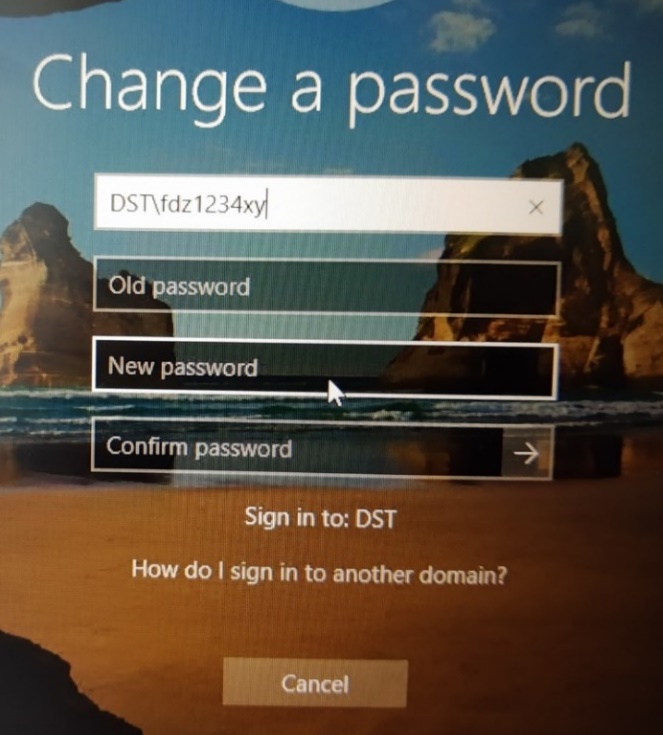
You will then receive a message from the system that your password has been changed. Complete the process by clicking 'OK'. You will be returned to your desktop.
If necessary, repeat this procedure for all your active projects. Please note: You do not have to change the project to do this, you can change all the passwords of your other projects from any of your projects. To do this, enter the name of the corresponding user account.
11.4.1 Password conventions
Your password must meet the following requirements:
Your password must be at least 12 characters long.
Your password must contain three of the following four types of characters: Upper case, lower case, number, special character.
11.4.2 Account Lock
Please note that your account will be locked after six incorrect password entries.
If you have blocked your account, please let us know (iab.fdz@iab.de) and we will unblock your account.